It is the time of year that hearty fare beckons us to the table. It is also the traditional time of year to harvest those animals that would supply meat through the cold winter months. For much of Europe and North America this meant hogs, a source of hams, roasts, ribs and bacon. Yes bacon, smokey, sweet and rich.
Some might question why bacon is a topic for The Gastronomic Gardener. To me, making your own bacon, being involved in the process, is nearly as important as growing your own vegetables. It is what I’ll call food intimacy. No, I don’t mean the art of the seduction meal, though that certainly has its merits. I’m talking about growing your own vegetables, or processing your own meat into products you love instead of chucking a shrink wrapped package into your shopping cart at the super-mega-hyper food market. Hunters get this, so do farmers. We are only a few generations past the point where most people had a better handle on where their food came from. It was in their best interest then and I believe it is our best interest now. If you think for a moment the few major food producers have much more than profit on their mind, then I think you are deluding yourself. It’s true, not everyone can grow their own hogs or chickens (I am eagerly looking forward to when I do) or even their own vegetables; but awareness of food sources, and taking small steps towards more involvement with your food by making home cooked meals are measures anyone can take. Be involved with what you eat.
OK, off my soapbox and back into the kitchen.
There are few things more comforting on a cold winter morning than the smell of bacon and fresh coffee. No matter what the day brings – at least it started well.
Making bacon is really quite simple, pork + salt + time +(optional smoke). We’re doing both pork belly for belly bacon and pork loin for canadian bacon.
I followed the instructions from Ruhlman and Polcyn in their seminal book Charcuterie . I highly recommend this book for anyone interested in curing their own meat.
These two bacons were to go into the smoker the same day but you need to plan as they have different curing times. The belly bacon takes a week, the canadian bacon about 36- 48 hours. Plan start times accordingly.
Belly Bacon
Ingredients:
2x 3lb slabs of pork belly trimmed up
1/2 cup of basic cure – read book for proportions
peppercorns
bayleaves
garlic cloves

Directions:
Place slabs into large zip closure plastic bags.
Add peppercorns, bay leaves and garlic cloves.
Add 1/4 cup basic cure to each bag. Shake/rub to distribute.
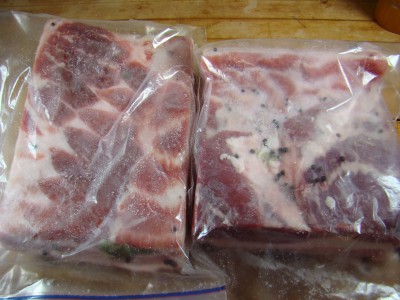
Refrigerate for 7 days, turning bags daily to redistribute any cure. Expect the pork belly to give up some moisture. In my experience the amount of moisture is quite variable from a few tablespoons to a cup or more. Don’t worry if there is not much liquid. It’ll be fine.
After a week give the slabs a poke with your finger – they should have firmed up considerably. If they are still soft give them another day or two. The red meat portion will also darken up.
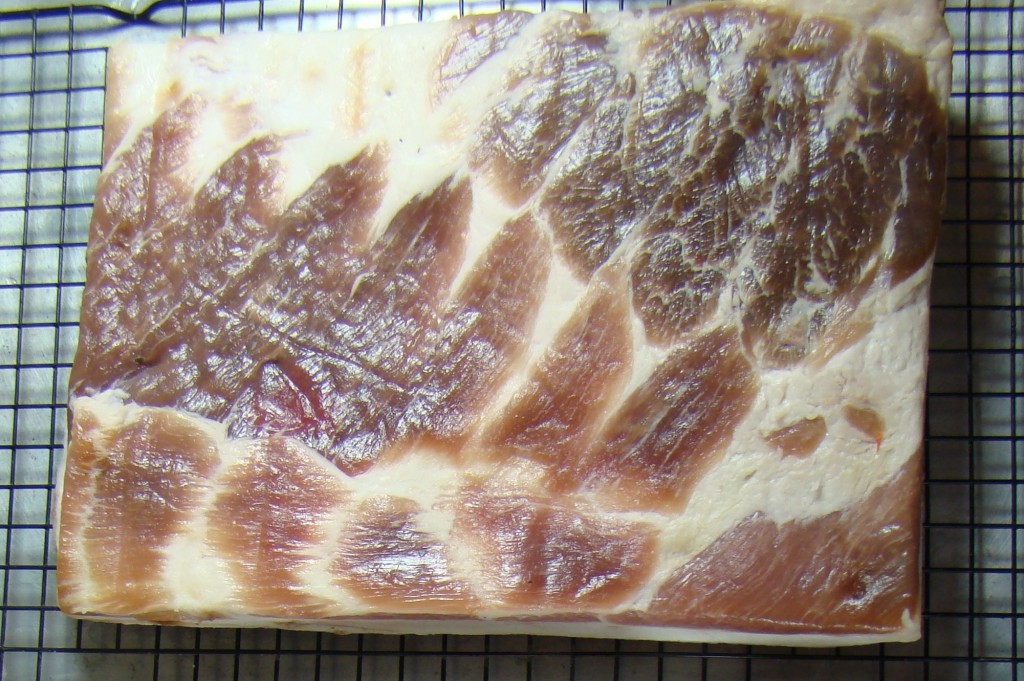
Once cured, place on a rack and allow to air dry over night in the refrigerator. The surface will become tacky – called a pellicle – this helps the smoke adhesion.
Canadian bacon
Canadian bacon is just pork loin that has been cured and smoked. The cure for this bacon is a wet cure or a brine. Water, pink salt, kosher salt, sugar, garlic, a bunch of sage leaves make up the brine. The recipe is in the book.
First make the brine, and chill it. I did this the day before.
Clean all the surface fat from the pork loin.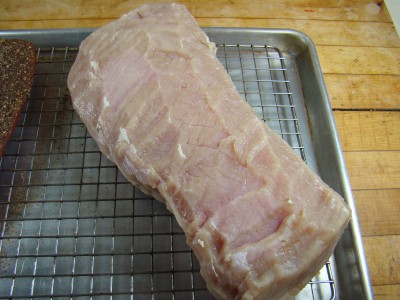
Place into the brine and submerge – weigh it down if needed. 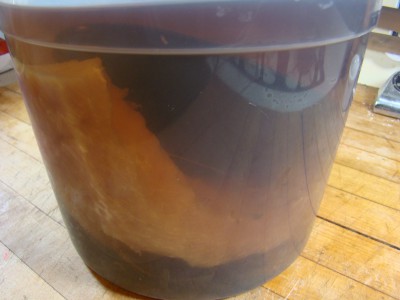
It’s not very pretty.
After 1.5 – 2 days, take it out of the brine, rinse in cool water. If desired, soak in cold water for an hour or so, changing water once. Dry it off and put on rack uncovered in fridge overnight to also develop the pellicle.
You could smoke these in a hot smoker or a cold smoker. Hot smoke will simultaneously cook and smoke. You could hot smoke these at about 250 until internal temp reaches 140F.
I chose to cold smoke. I built a cold smoker about a year ago.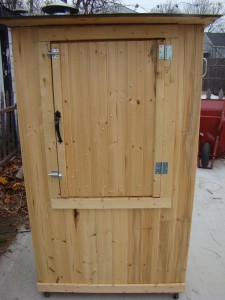
This adds flavor but does not cook the meat. Cold smoke for however long you want to get the taste you want – I smoked this about 8 hours. I also have other things in there – we’ll cover that in other posts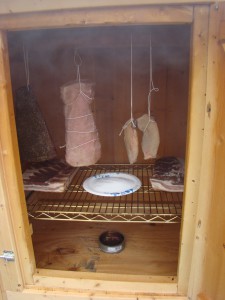 .
.
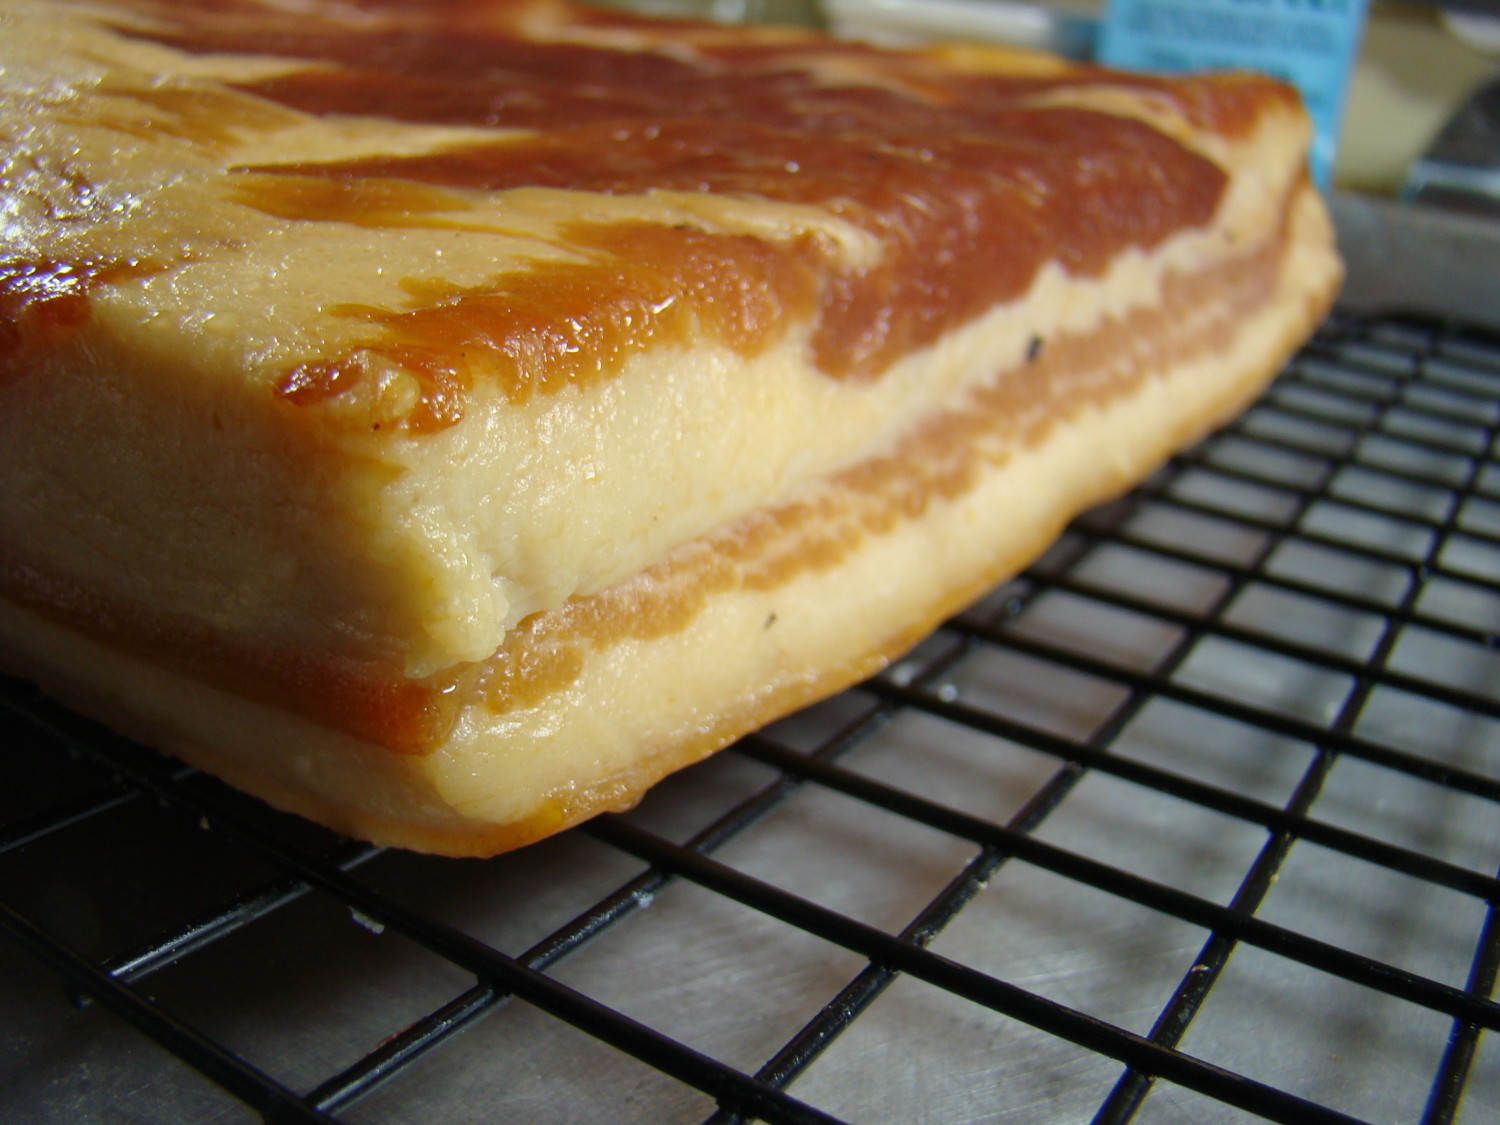
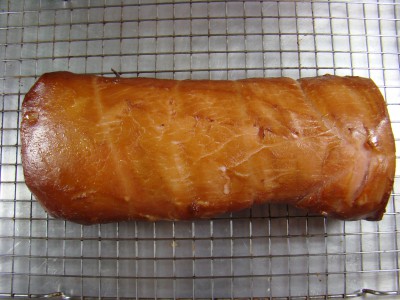
Once smoked I roasted both the loin and the pork belly in a slow (200-250F) oven until internal temp reached 150F. Remove from oven. Look how the heat brought out the lovely caramel smoke color! The aroma is heady!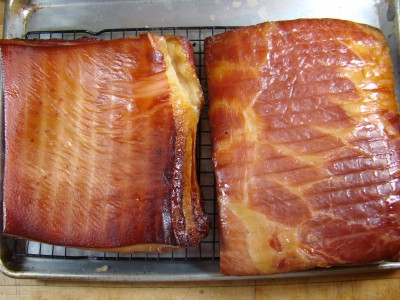
At this point, I trim the skin off the pork belly while it is still warm. This product is now pretty stable having been cured, smoked and cooked. It should be refrigerated or frozen until used. I chill it very well then slice it up, vacuum pack, and keep in freezer until the night before I want it.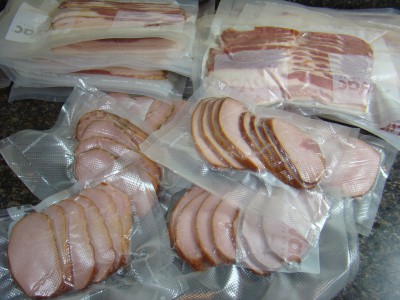
I won’t be needing to buy bacon anytime soon! Granted it does take time, but it is not difficult, and the rewards are great.
Until next time, Eat Well & Keep Digging!



November 22, 2011
WOW!! just beautiful! great work and excellent instructions!
🙂
November 22, 2011
Thanks OFG! Definately a labor of love, but the results are so worth it.
November 22, 2011
Holy Hog! My mouth is watering and I can almost taste that gorgeous bacon! Your instructions make it so doable. I hope to start this year with a cardboard smoker, then graduate to a “real” smoker for next year. Thanks for the inspiration.
November 22, 2011
Hi Monique! Welcome!
It is very doable. I do recommend the book as it has complete instructions. Thanks for stopping by!
November 22, 2011
I do wish you lived next door to me! (Even the smell of that bacon would be worth having).
November 22, 2011
It’s funny Mark, My brother thinks his neighbors would frown upon a little smoke shack running on the weekend… Mine like it!
November 22, 2011
What a great post, David! I had a very basic understanding of how bacon was made but you’ve filled in all of the gray areas with this well written, step-by-step “how-to.” If ever I decide to make bacon, I’ll come back to this post before I do anything else.
November 23, 2011
Thx John! Once you’ve made your own, it’s tough to go back to store bought. And you can skip the smoking part and still have a great product!
November 23, 2011
It really does look wonderful. I love your smoker too! Wouldn’t have a problem with my neighbors either.
November 23, 2011
Becky, the aroma is amazing – it doesn’t shrink like store bought. Pester Phil to make you one 🙂 – it’s an easy project
November 24, 2011
I’m so impressed! If I had the resources I would love to do this! The taste has to be so incredible, like nothing I’ve ever had! Wishes to you and your family for a very Happy Thanksgiving!
November 24, 2011
Best wishes to you too Lind! I hope you enjoyed what must have been an incredible feast! It’s really pretty easy to do, and you’re right, the quality is excellent!